TMA Recover EtherCat Line#
Overview#
This guide addresses the frequent issue of some systems on the TMA becoming non-responsive due to EtherCAT communication interface problems. It provides a detailed procedure for resetting the EtherCAT interface, focusing primarily on the main TMA cabinet. By following this guide, users can restore the responsiveness of critical systems, ensuring continuous operation even when specialized support is unavailable.
Error diagnosis#
Some set of systems on the TMA could be non-responsive in some ocasions. In these cases the ethercat communication interface must be reset to regain connection to these systems. This is often done by the day crew when needed, or by Tekniker/Phase support when on site. Observers knowing and following this procedure can help rescue nights when additional support is not available.
A non exhaustive list of systems that may not be responsive as a result of ethercat issues are:
Az/El Drives
Thermal Systems
Limit Switches (will show as active when they are not)
Inclinometer
Power Supply
More…
Typically it is sufficient to reset the ethercat in the TMA main cabinet. On rare occasions (once in current knowledge), ethercat in other cabinets may need to be reset. Different systems not responding may be indicative of which cabinet this procedure needs to be performed in.
Solution#
Important
Ethercat can be reset for different systems in different TMA cabinets. This guide covers the main TMA cabinet where it most commonly must be reset. Similar steps may be used for other cabinets.
Definition
This guide uses the term RJ45, the formal name for the connector of an ethernet cable. This is used to avoid incorrectly calling a connection “ethercat” or “ethernet” which both use RJ45 connectors.
Lock out the TMA: follow (TMA LOTO GUIDE PAGE) for this procedure
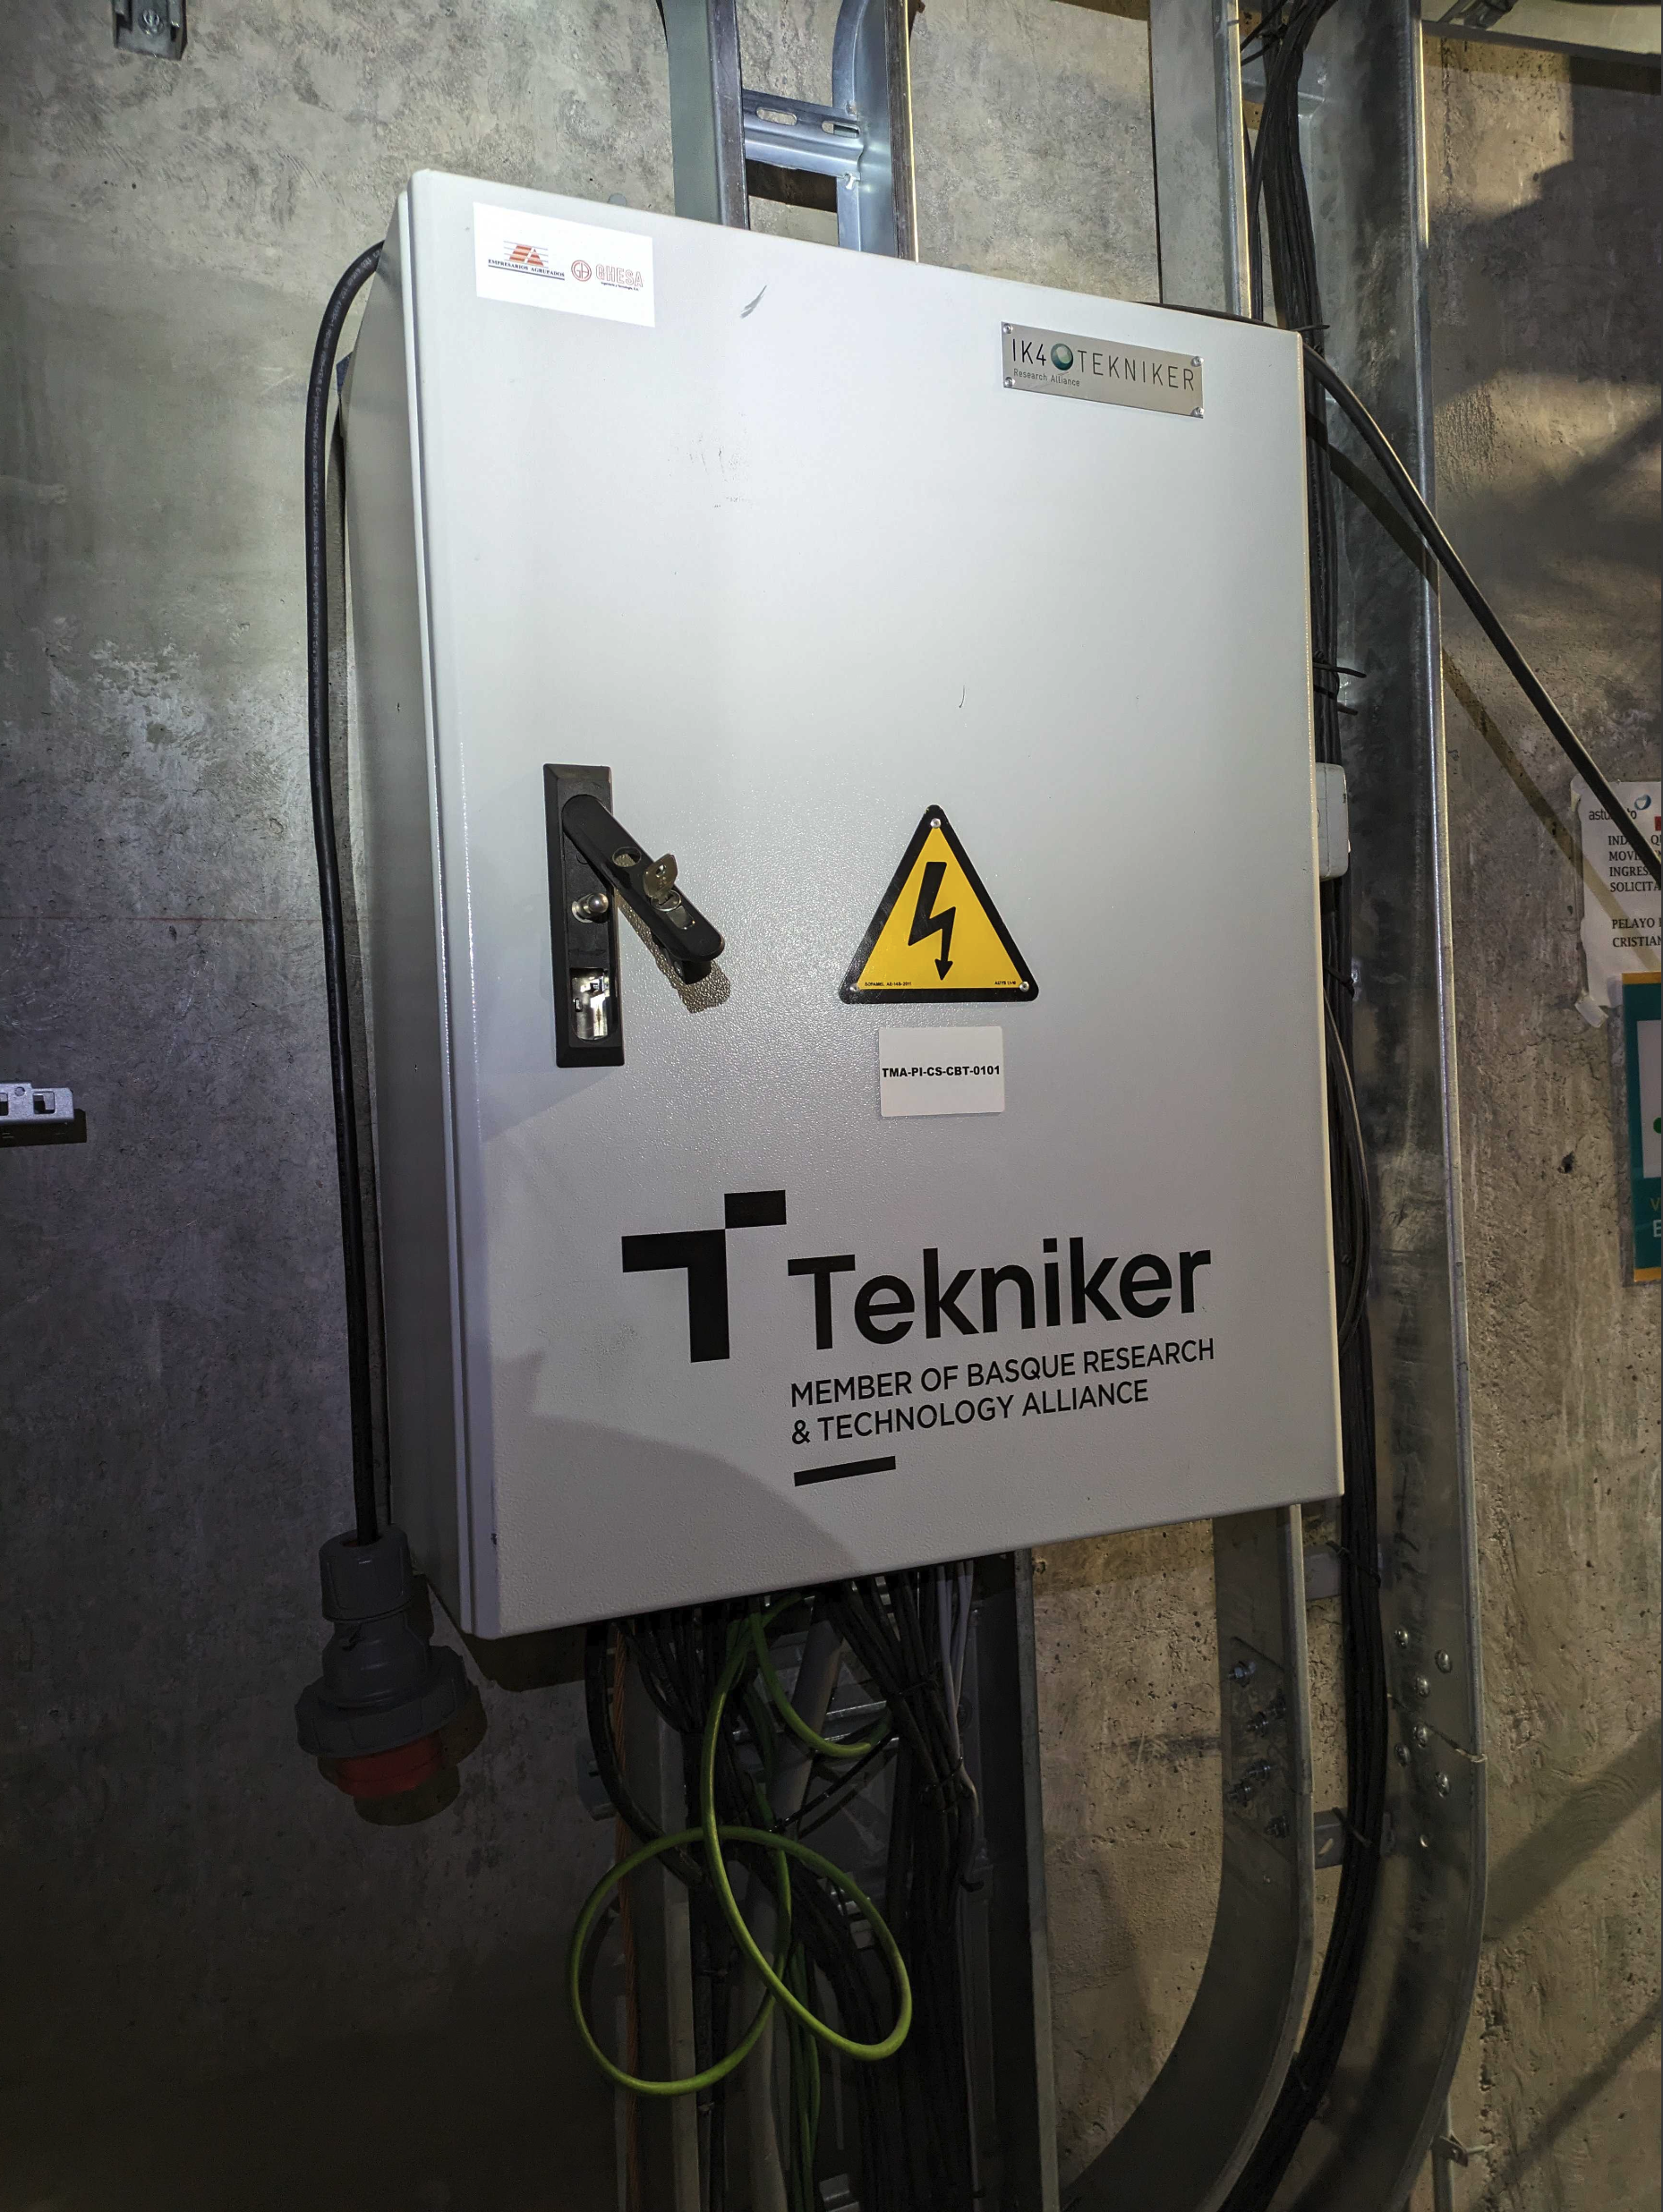
Head up to the main TMA cabinet: This can be found on level 8, on the TMA. If on the side of the TMA with the stairs up to the deploy able platforms, it is on the left on the other side of the corner.
Next to the cabinet is the physical TMA Tekniker Support Computer (tma-pc01.cp.lsst.org).
Connect to TMA Tekniker Support Computer: details for this can be found in 1password.
Typically the monitor is turned off to prevent stray light. You may need to turn it on. Remember to turn it off when you are done!
Alternatively you may use your laptop and Microsoft Remote Desktop (available for Mac as well) to connect to this computer. More details on 1password.
Identify dark green Ethernet cable connected to the support computer: this cable plays a pivotal role in the reset of the procedure.
The cable is a darker green from the other ethercat ethernet cables which are a pale green.
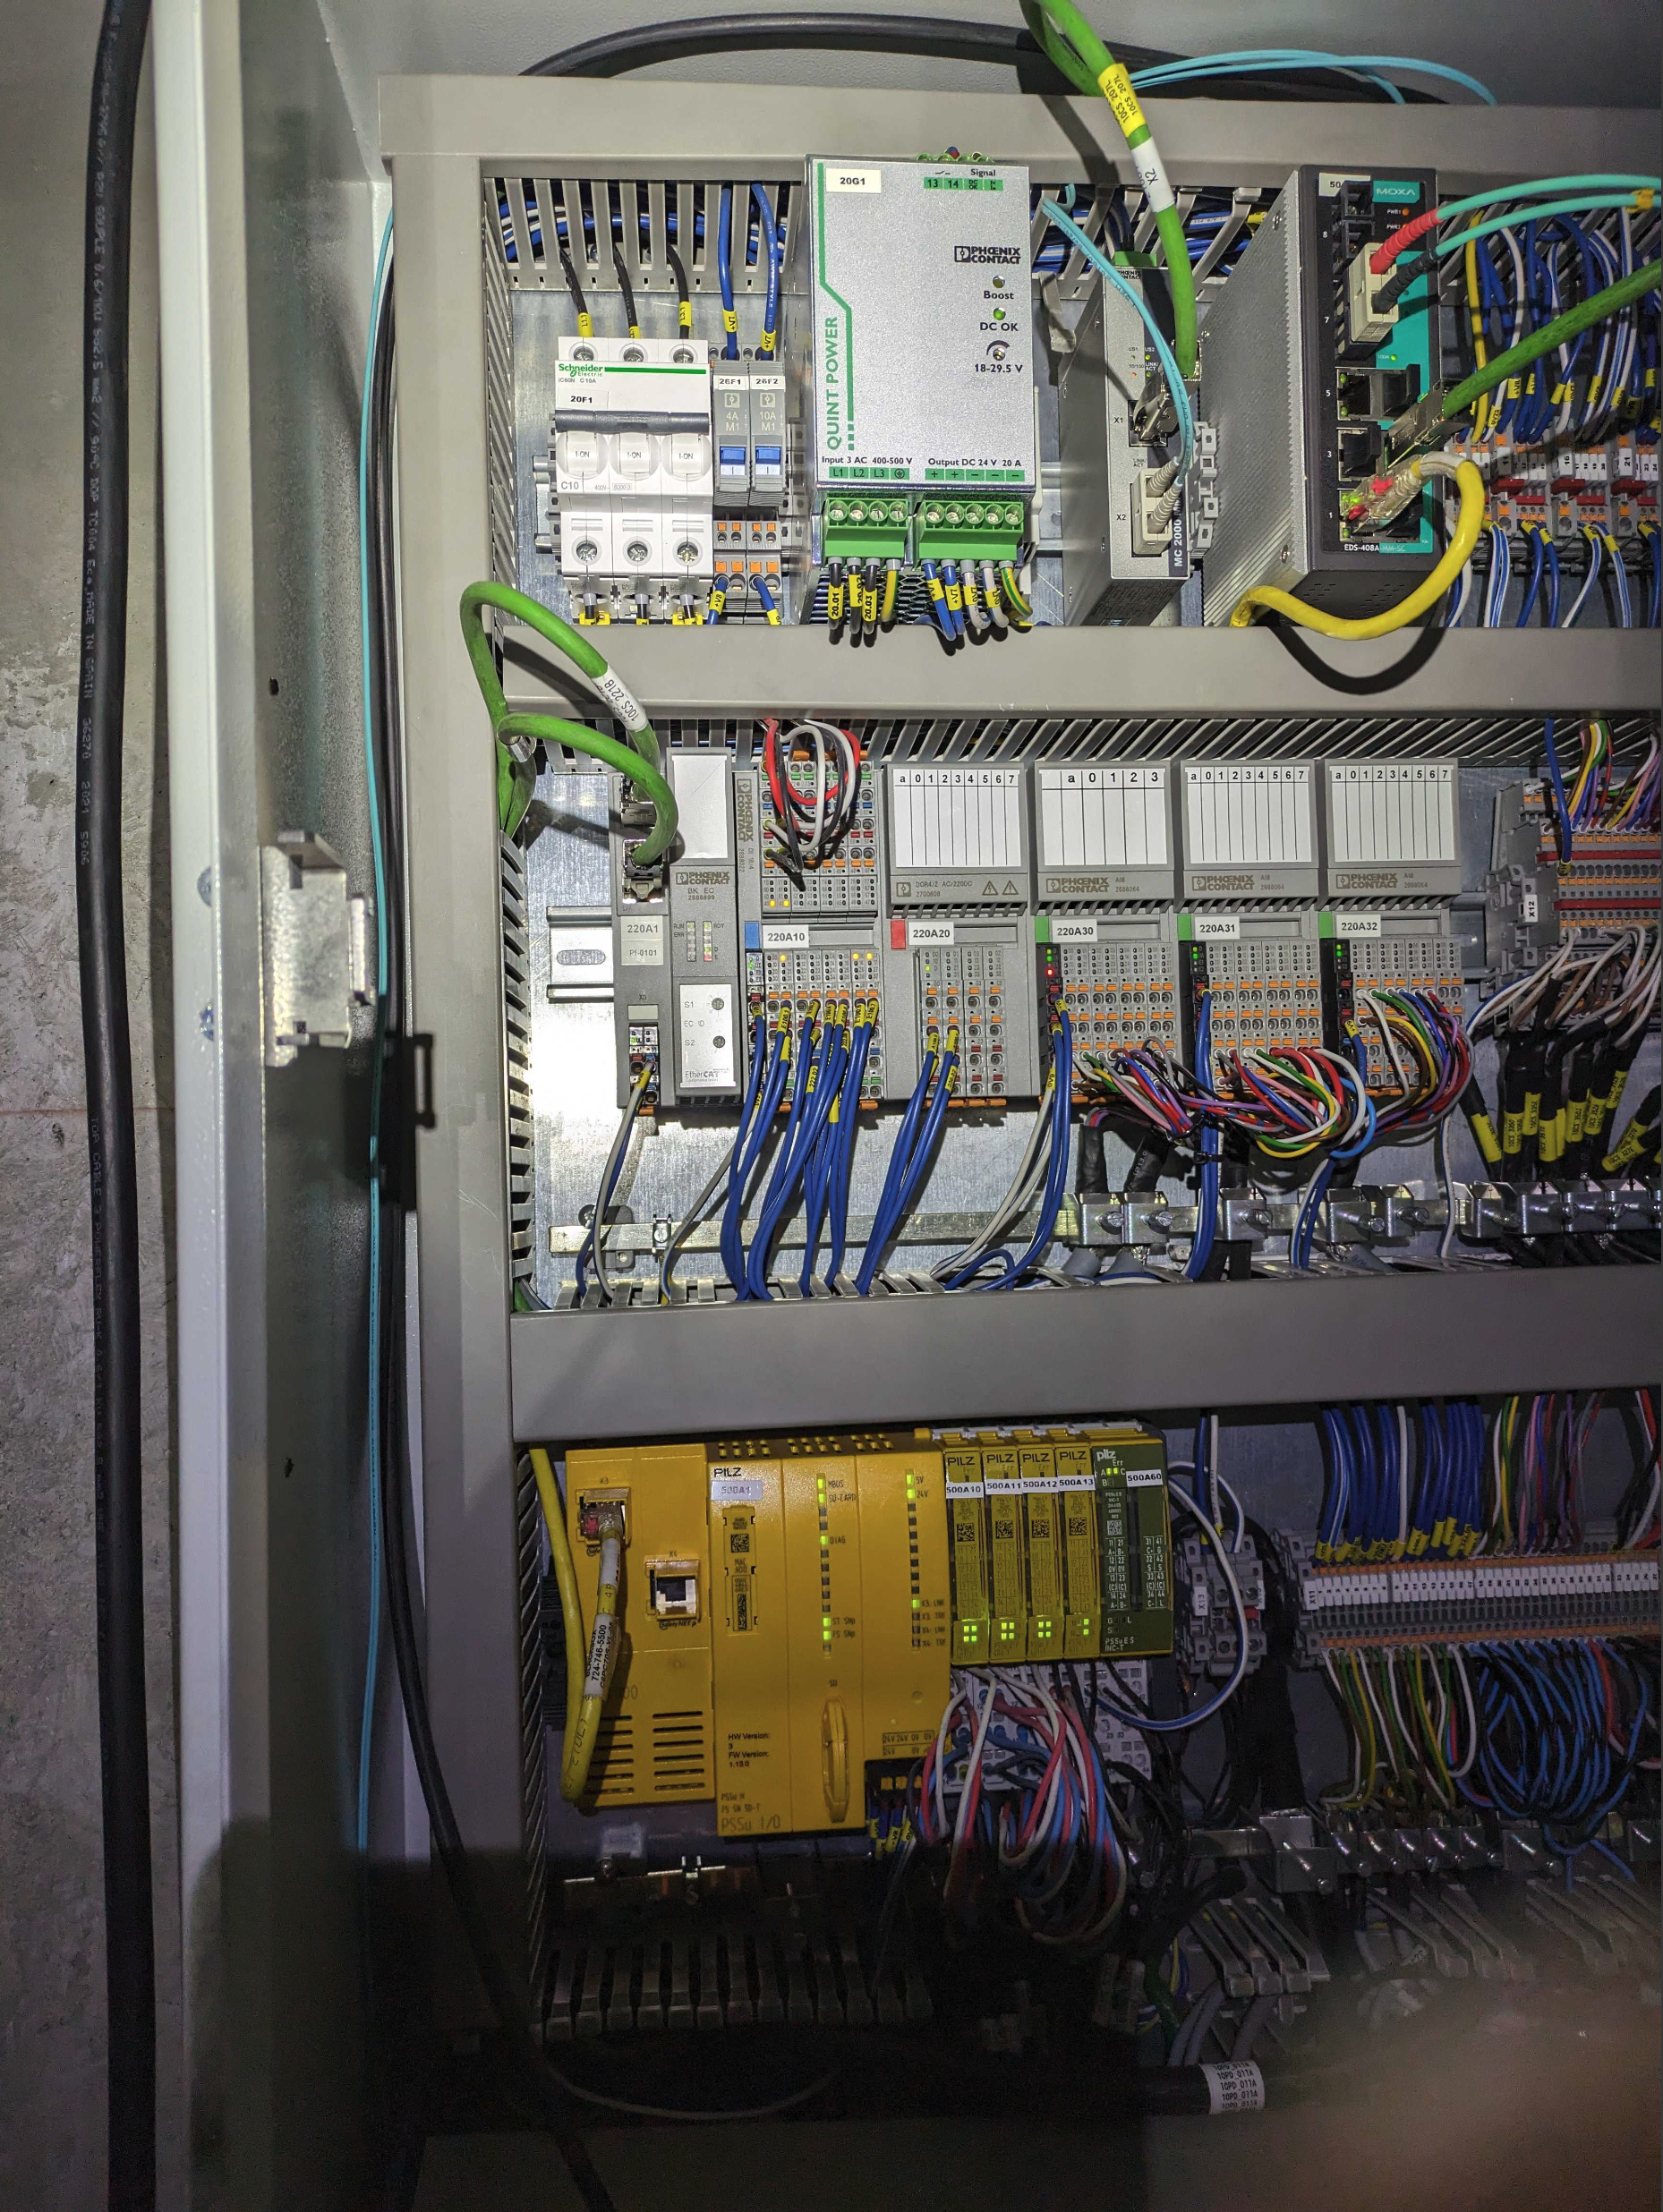
This cable connects to a “Moxa” switch in the right section of the cabinet
The cable goes through a hole in the floor of the cabinet and out to connect to the support PC.
Remember its original slot in the switch, it will be returned here at the end of this procedure.
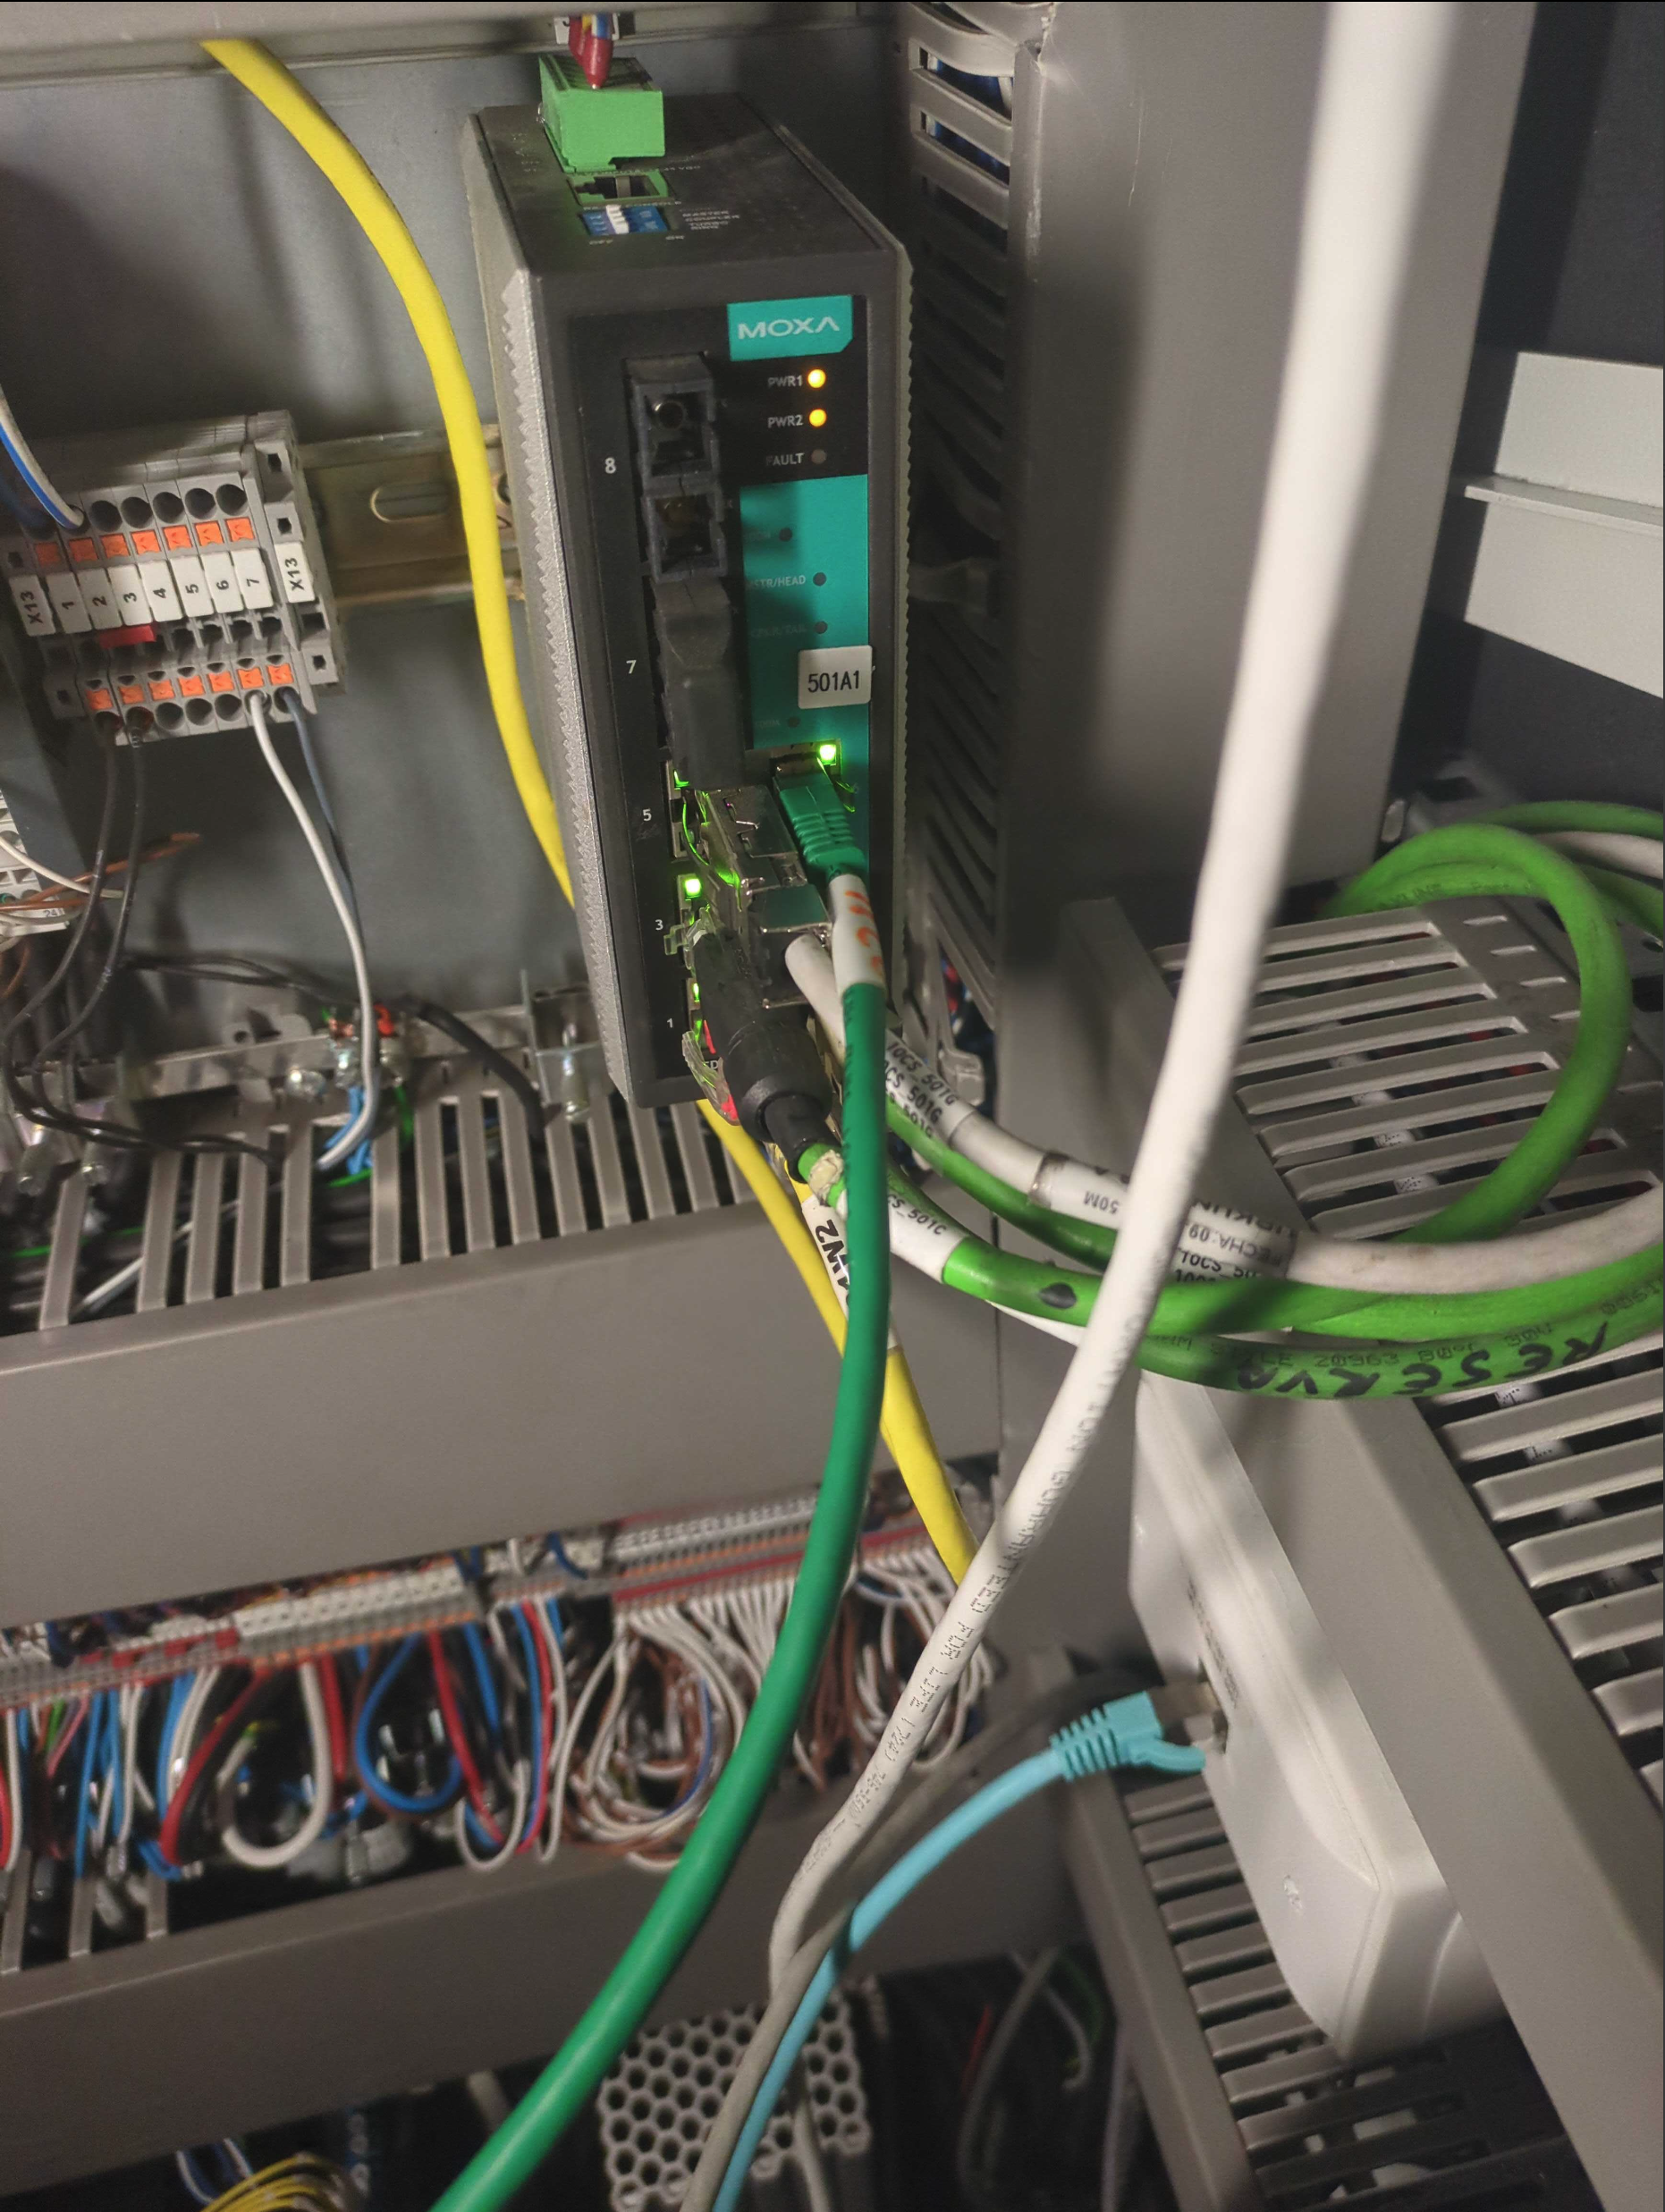
Dark green ethernet cable.#
Connect the support PC directly to the Phoenix Connect remote IO input
Identify the location of the Phoenix Connect system. It is in the center section of the cabinet, below the Bosch controller. It has Phoenix Connect branding and two RJ45 connectors on it.
Caution
Ensure that the existing RJ45 connection on the Phoenix Connect are tight by gently pushing them in.
Disconnect the Support PC ethernet cable from the Moxa switch and move it to the middle section of the cabinet (an extra hand to hold it can be helpful)
Replace the blue, upper RJ45 connection on the Phoenix Connect with the Support PC ethernet cable.
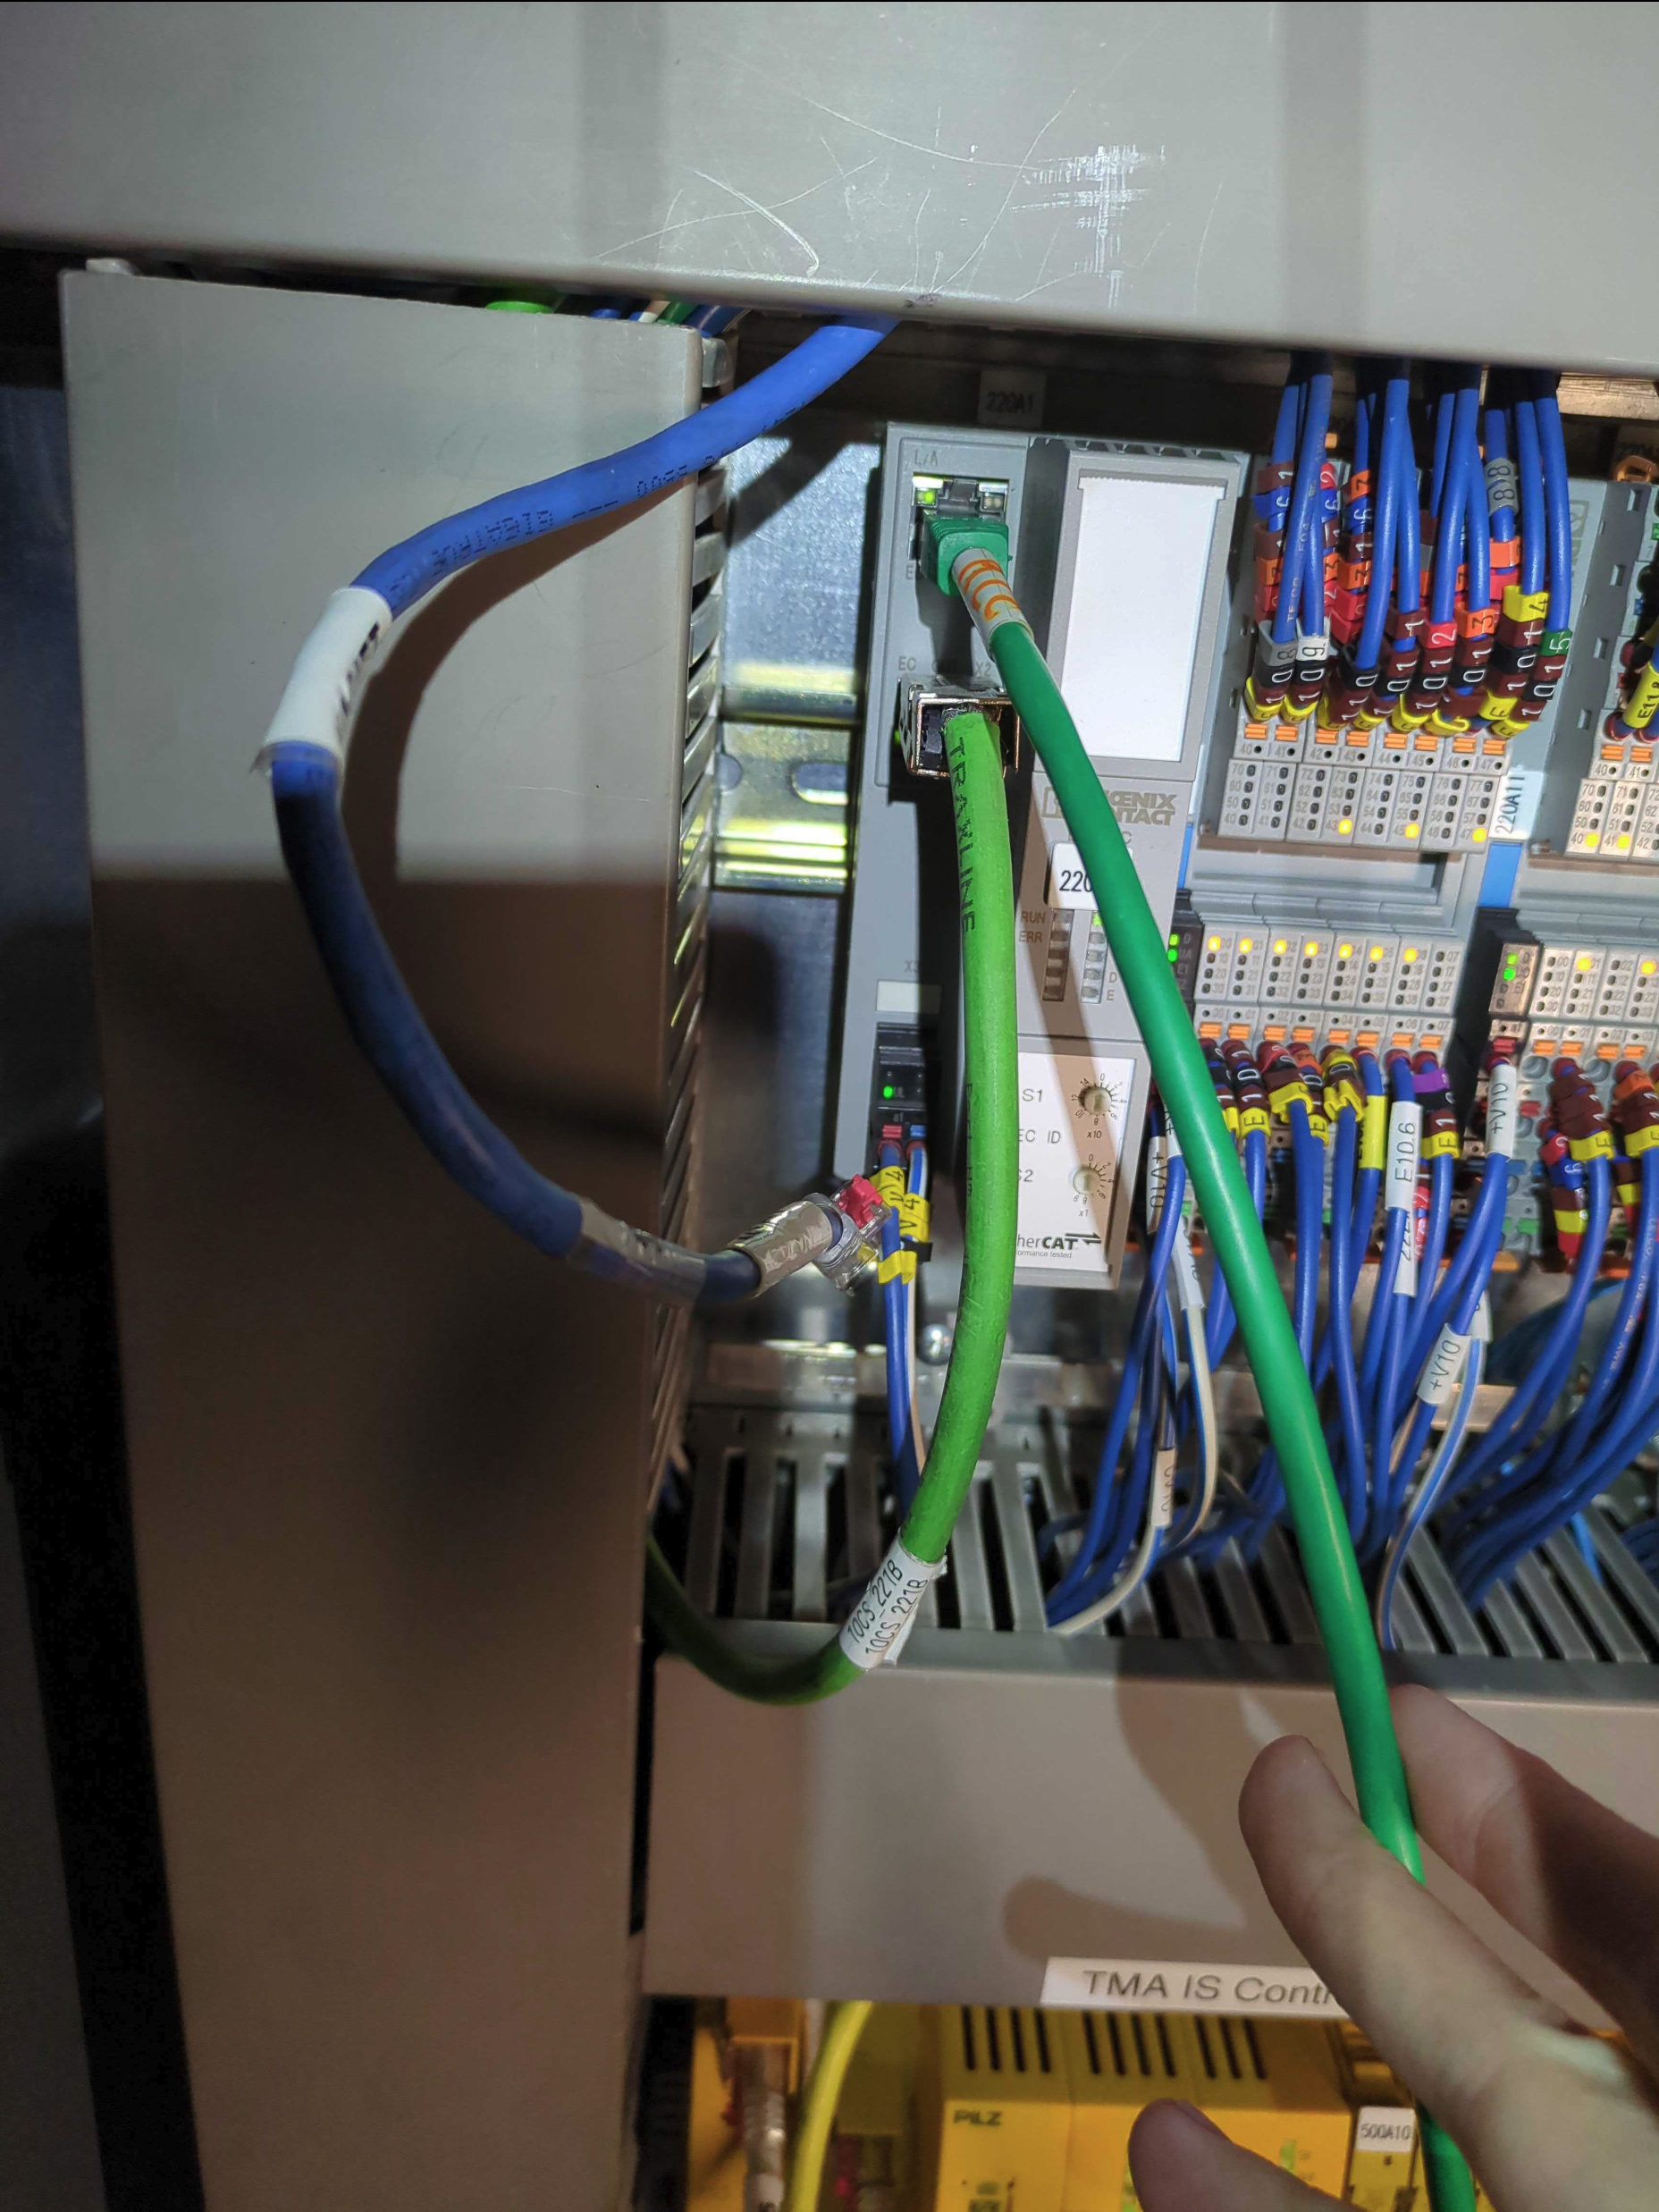
Phoenix Connect system.#
Reset Ethercat from the TMA Support PC
Re-activate System in NI manager and TwinCAT
On the Phoenix Connect, replace the green support PC ethernet connection with the original blue RJ45 connection
DO NOT return the green support PC ethernet to its original position yet!
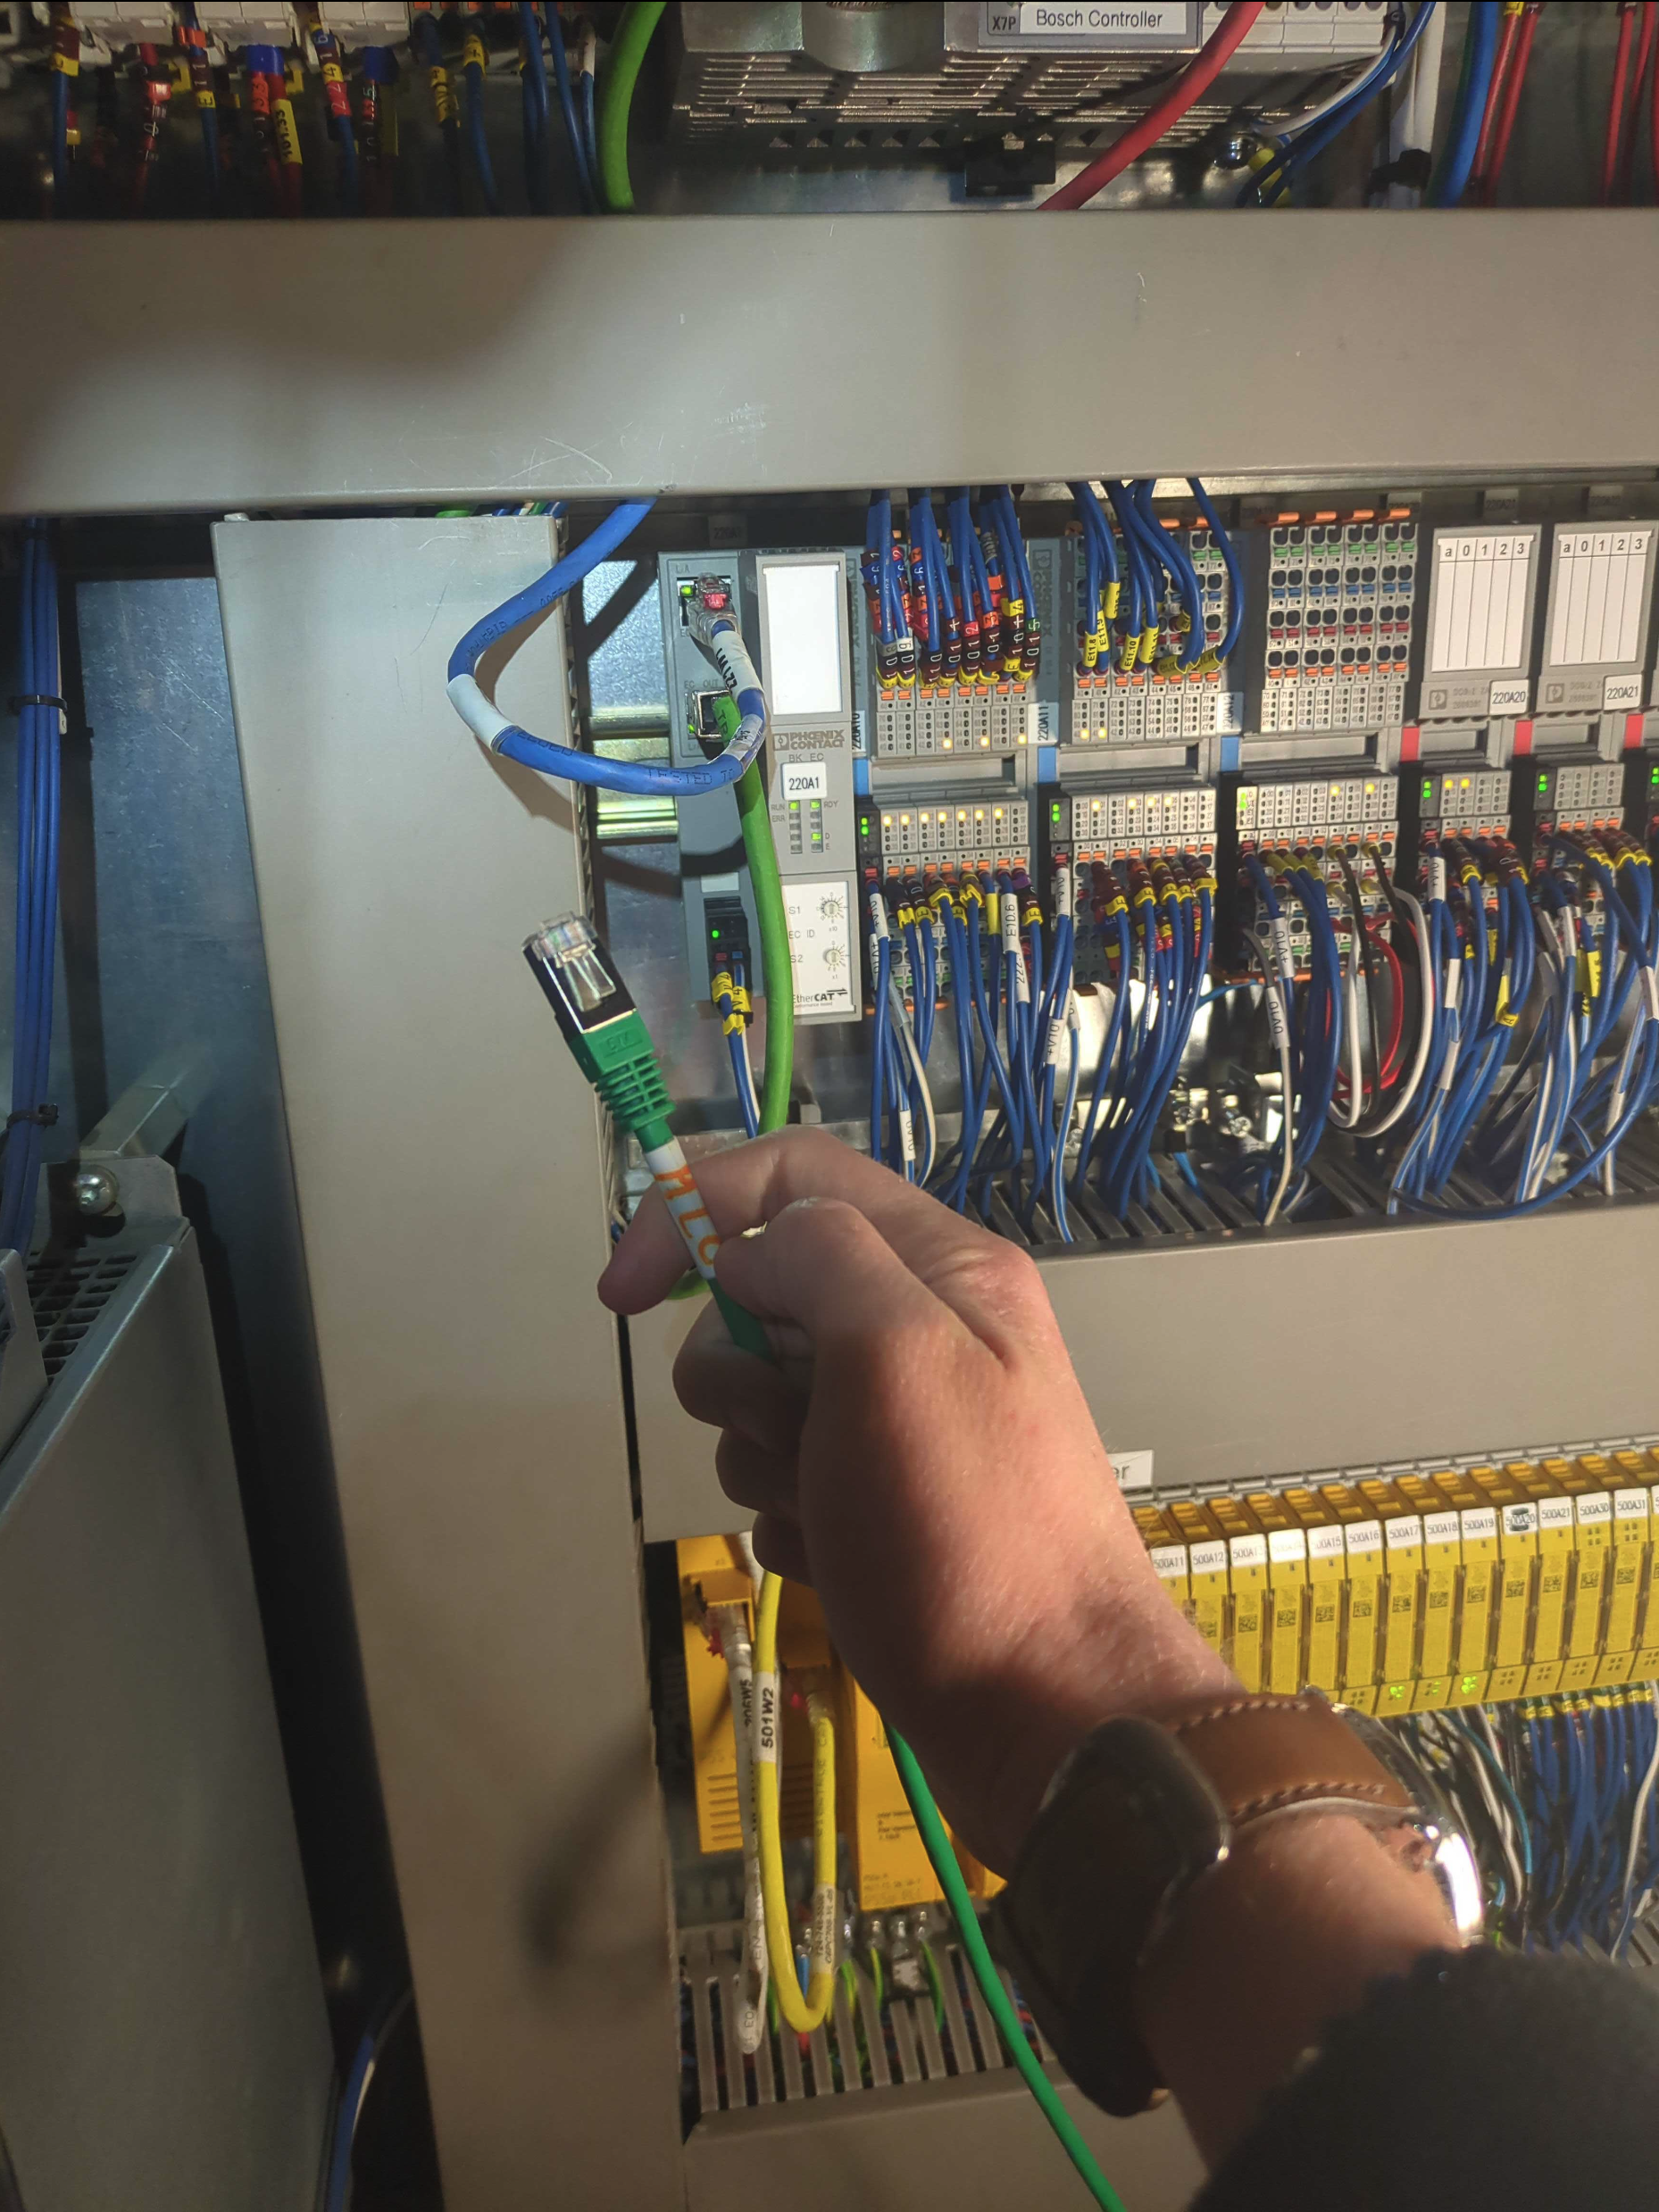
Green ethernet cable#
You may hear audible clicks in the cabinet
Change 139.229.171.3 to active in NI Distributed System Manager software on Support PC

NI Distributed System Manager#
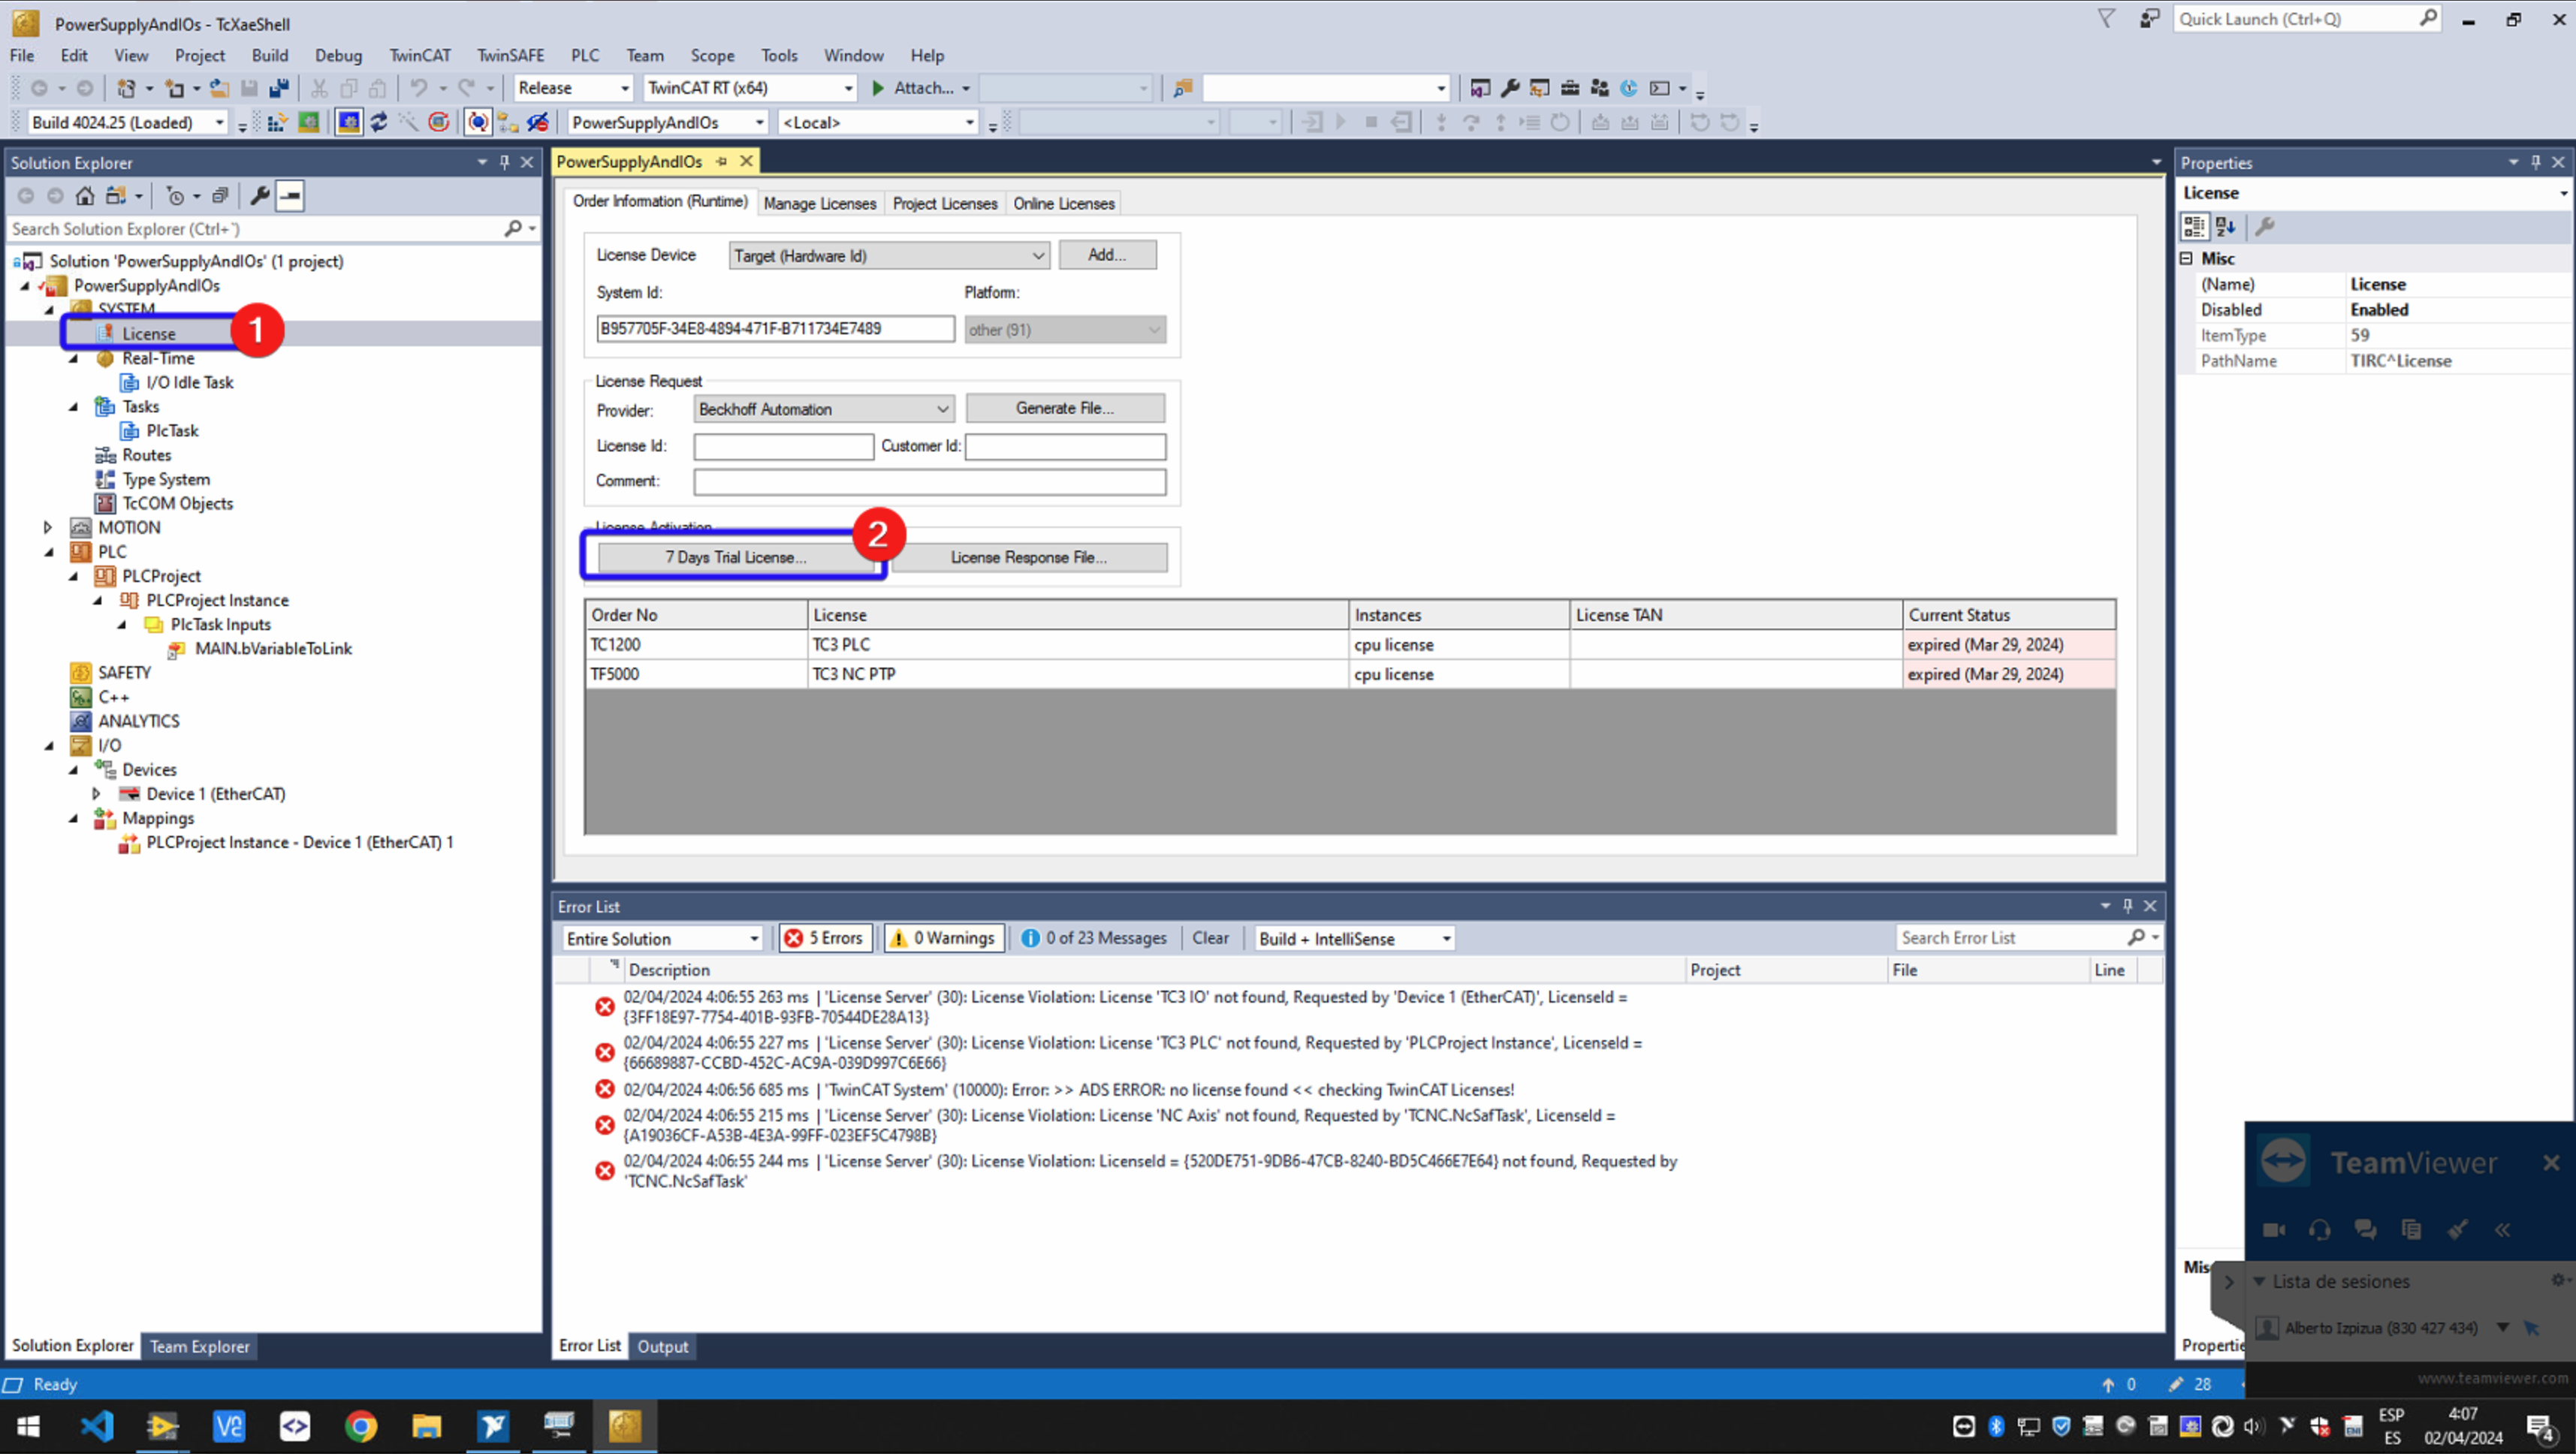
Configure ethercat in TwinCAT software (blue box in upper left)

TwinCAT#
Disable and Re-enable Integrated Ethernet Network Interface Card in windows network settings
Open network settings in windows, can be accessed through the wifi symbol in the lower right corner
Go to ethernet and click on “Cambiar Opciones del adaptador” to open up control panel version of the app
Right click on the IntegratedEthernet adaptor
Click Desactivar
Right click again after a brief wait
Click Activar

Windows network settings#
Return Support PC ethernet cable to its original position

Returning ethernet cable.#
Ethercat should be reset and systems should be responsive now. If they are not, double check that the RJ45 connections to the Phoenix Connect are tight and try again.
Appendix#
Contingency#
If the procedure was not successful, report the issue in [relevant Slack channel] and/or activate the Out of hours support.


