Getting Started With Nublado
Overview
This procedure is intended for users of the Rubin Observatory that are interested in interacting with the Observatory Control System using Nublado. It contains basic procedures on how to get started with the Nublado observing tools.
To get a list of the different environments see Operational Environments
Precondition
Make sure you read and understand the environments procedure.
Once you have identified which environment you want to interact with, you must be able to load the link to the Nublado instance to that environment.
Post-Condition
Successfully access Nublado.
Procedure Steps
Request access to the RSP access team in the Rubin Observatory summit GitHub organization
Important
If you are planning on interacting with the control system in any of the observatory environments, you must first announce your intention in the assigned Slack channel. These are shared resources and, as such, require coordination to avoid interference with other activities.
Important
In the case of the Summit it is required to have personnel present at the site prior to any activity that involves moving hardware. You may also be required to issue a jira ticket in the summit activity project.
Once you announced your intention to operate one of the environments in the appropriate Slack channel and, if appropriate, coordinated the activities for the Summit, you are ready to open Nublado on your browser.
Once you open the link on your browser, you should see the Nublado welcome page. To start your Nublado instance, click in the icon below “Notebook Aspect”.
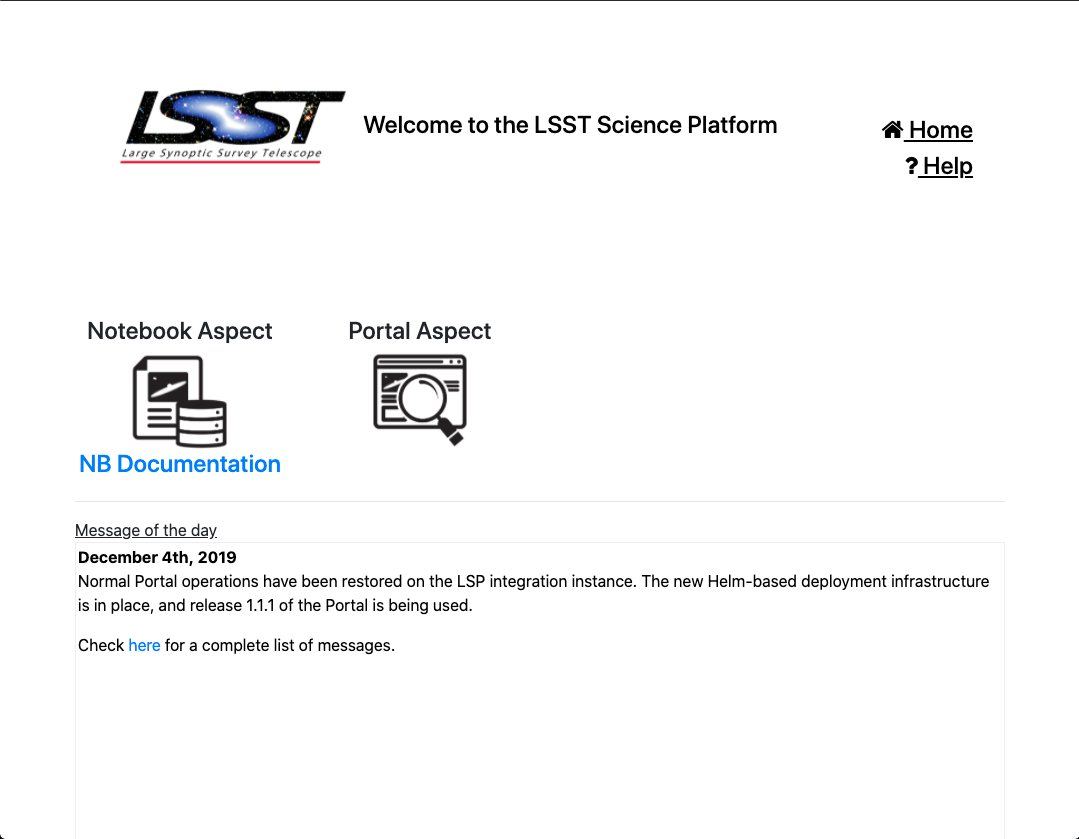
Screenshot of Nublado welcome page.
This should take you to the Nublado launch page, if this is the first time you login or if you are logged off.
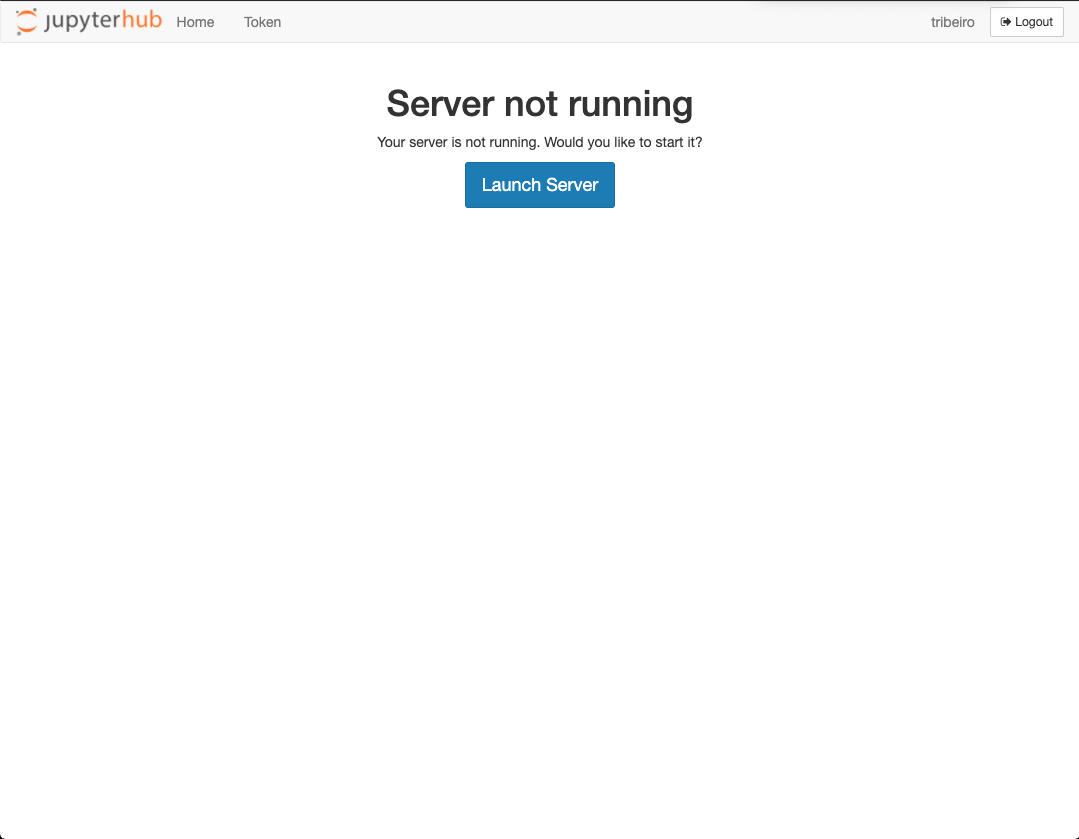
Screenshot of Nublado launch page.
If you now click the “Launch Server” button, you will be taken to the Server Options page.
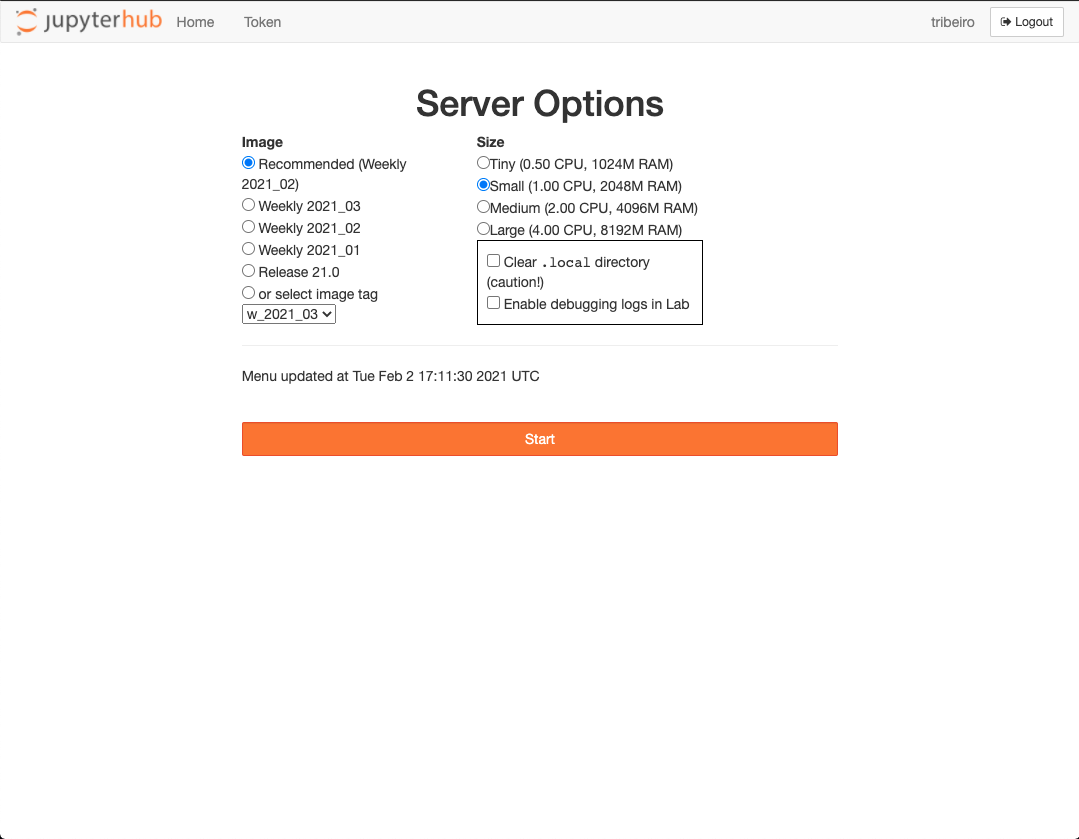
Screenshot of Nublado server options page.
In this page, you can now select the image and the resources you need for your work.
The “image” selection specify which version of the science pipelines to load (the observatory control packages are always the same).
The “size” option specify the amount of computing resources that will be made available for your jupyter-lab instance.
In most cases, you will want to select the “Recommended” image.
For anyone performing tasks involving image data analysis and/or control operations, a “Large” container should be used as these can require significant resources. “Small” or “Medium” container should only be used when performing simple tasks, such as updating notebooks, or files, or performing simple EFD queries.
Once you selected your “Image” and “Size” you can click in the big orange “Start” button. You will be redirected to a loading page.
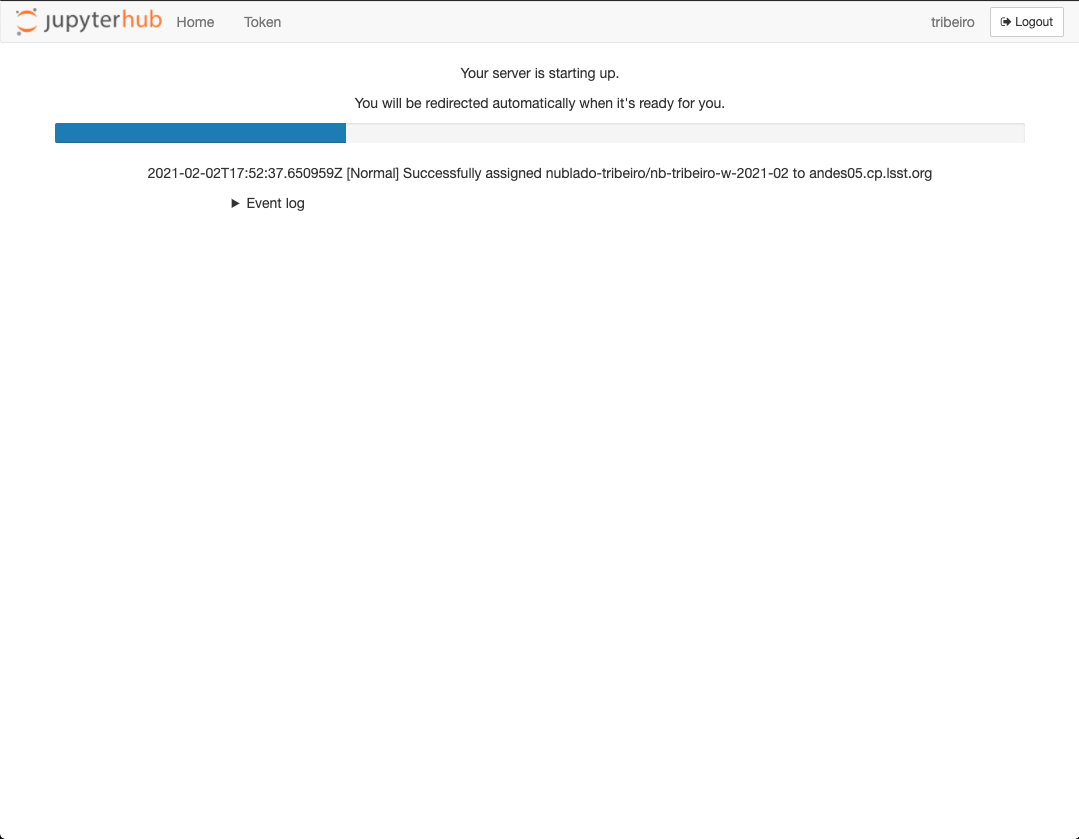
Screenshot of Nublado loading page.
In general, sections will load pretty quickly, though they may take longer if the “Image” you selected is still not available in the server.
Once loading is completed you will be redirected to a jupyter-lab section.
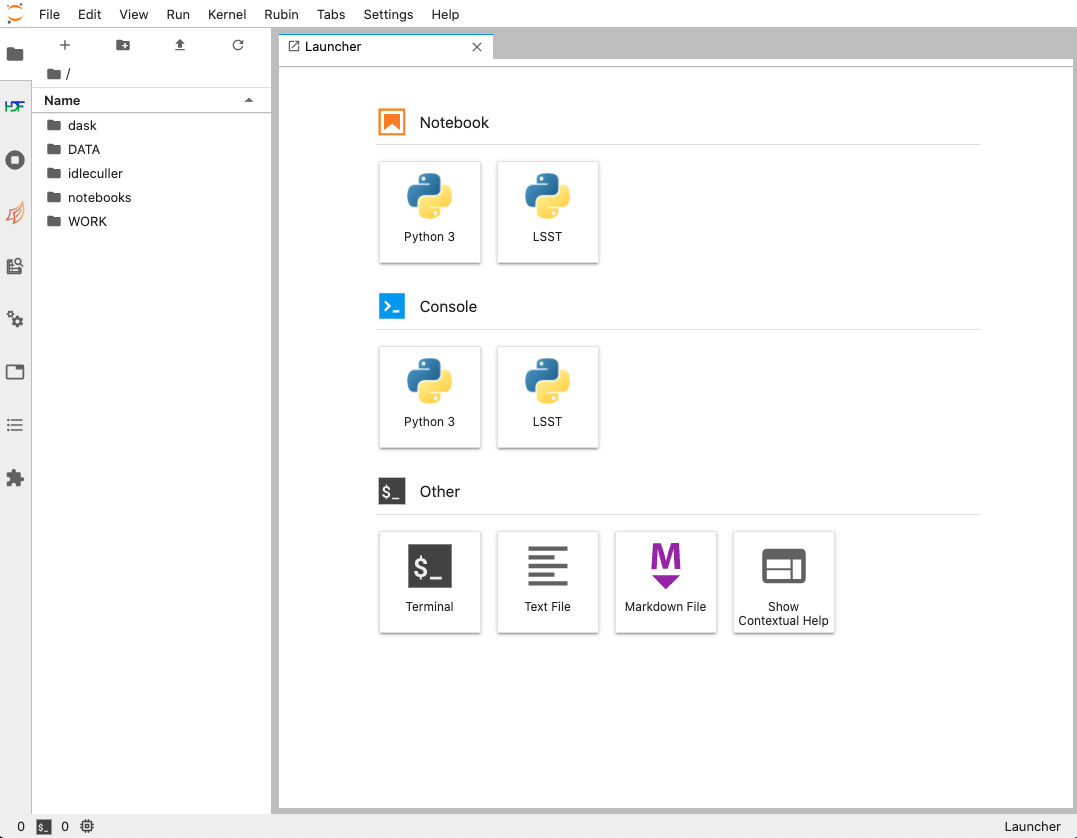
Screenshot of jupyter-lab section after successful login.
To start a new notebook for data analysis and/or interaction with the observatory control system, click in the “LSST” icon in the “Notebook” section. If you select “Python 3”, it will create a bare python 3 kernel which does not have access to the science pipelines or the observatory control algorithms.
Alternatively, you can clone the ts_notebooks repository, which contains a collection of notebooks from users as well as examples and procedures. To do that, open a terminal by clicking in the “Terminal” icon in the “Other” section. This will open a linux terminal on your browser, that is running on the remote server in the environment you choose to operate. From here you can execute regular linux terminal commands.
To clone the ts_notebooks repository do;
cd ~/notebooks git clone https://github.com/lsst-ts/ts_notebooks.git
You can than navigate to the location where the repository was cloned using the file browser on the left hand side of the screen, clicking on “notebooks” and than “ts_notebooks”. There are useful notebooks to start with in the “examples” and “procedures” folders. You may also be interested in looking at the Update Notebook Environment in Nublado to see how you can customize your environment.
Troubleshooting
TBD
This procedure was last modified Jul 15, 2026.