Update Notebook Environment in Nublado
Overview
This procedure describes how to change/customize software versions in the jupyter-lab environment on the nublado platform. Version changes will (temporarily) override versions available on the servers. This can be performed locally or remotely.
The Nublado Platform
The nublado platform is the initial entry point for users to interact with the Rubin Observatory control system. It is highly flexible, allowing you to work on one or more components to accomplish both, high and low level operations.
A jupyter-lab environment is provided for users to launch notebooks. By default, the platform provides a set of environments with released software versions and tools, including:
Precondition
You must be logged into the nublado system.
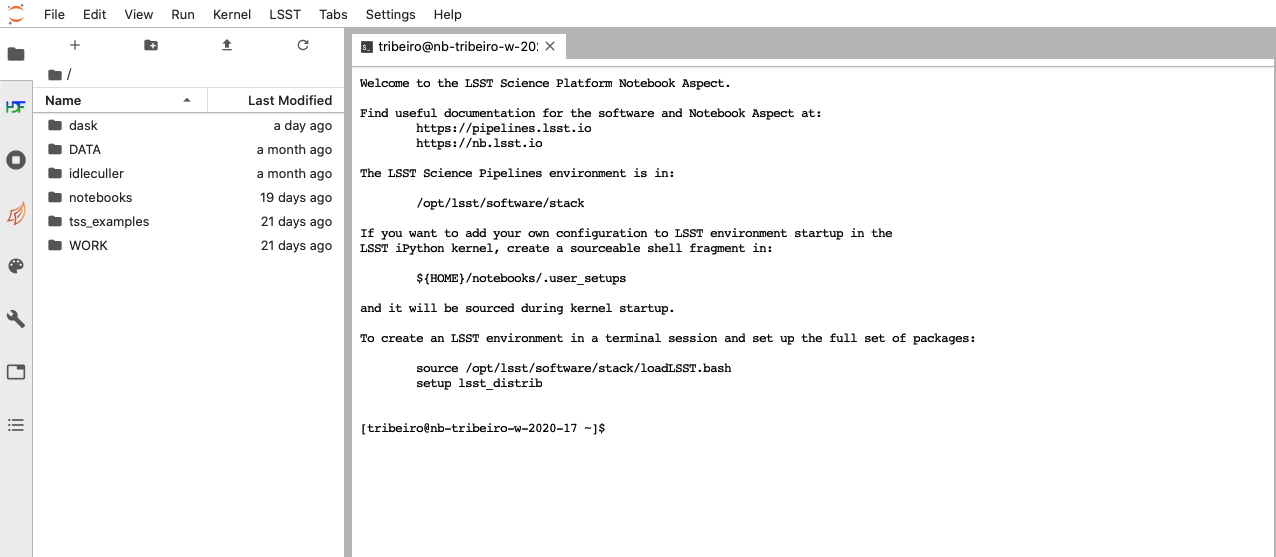
Screenshot of nublado interface after successful login.
Post-Condition
The requested software version(s) is deployed for use in the jupyter-lab notebook. This will overwrite the versions available on the server.
Procedure Steps
The procedure is separated into different sections depending on the software you want to update in the nublado platform.
Additionally, updates using ScriptQueue can allow you to update software versions without the need to restart or recycle the state of ScriptQueue CSC.
Updating High-level Control Algorithms
This sections provides instructions to update a high-level control algorithm from the console in nublado. This task is easily supported natively on the nublado platform.
Skip down to the summary section for a condensed list of command inputs.
Important
Because these changes are local, applied changes will persist even if the notebook server is restarted.
To revert changes, you must comment out the added line in the user setups script.
Note
This procedure uses the ts_observatory_control package as an example. Replace this with the package name you want to update. Some other examples are ts_standardscript and ts_externalscripts.
Load the LSST stack.
$ source /opt/lsst/software/stack/loadLSST.bash
Clone the high-level control algorithm package.
$ git clone https://github.com/lsst-ts/ts_observatory_control.git
Check out the branch you want to change.
$ git checkout <branch-name>
Use
eupsto declare/setup the package.$ cd ts_observatory_control $ eups declare -r . -t $(whoami)
Open the user setups script (
.user_setups) to setup the declared package at run time. vim or emacs are available.$ vim ${HOME}/notebooks/.user_setups
Include the following line at the bottom of the file.
setup ts_observatory_control -t $(whoami)The new version of the package that is in the
ts_observatory_controldirectory will be loaded instead of the one available on the server. You must restart the current notebook kernel for the update to apply.Ensure the desired version of the package is loaded when starting the notebook servers.
Summary
Here is a summary of the user’s command inputs described in the procedure above:
$ source /opt/lsst/software/stack/loadLSST.bash
$ git clone <package-github-location>
$ cd <package>
$ git checkout <branch-name>
$ eups declare -r . -t $(whoami)
$ vim ${HOME}/notebooks/.user_setups
# Include ``setup PACKAGE -t $(whoami)`` at the end of file
# Restart notebook kernel
# Verify package version
Note
It is possible to setup different environments that co-exists with different versions of software. This is a more advanced feature.
Updating Interface Versions
Caution
This is a risky procedure because…
This section requires input.
Updating the Stack
This section requires input from other groups.
Updating User-defined Environments
This section requires input from Data Management.
Updating using ScriptQueue
Another common user interaction tool is the ScriptQueue. It allows you to implement changes seamlessly without the need to restart or recycle the state of ScriptQueue CSC. This includes a wide range of possibilities included small fixes to scripts, control packages, libraries or adding new scripts.
Use the following steps to update software versions with ScriptQueue.
Run ScriptQueue.
Login to the ScriptQueue CSC by following Step 3 in Section 3.1 of TSTN-020.
Go to the package you want to update, then update the repository.
$ cd repos/<package>
$ git fetch --all
Check out the branch you want to change.
$ git checkout <branch-name>
Any new script you launch with the ScriptQueue will use the package version defined in checked out branch.
Changes can be pushed to the branch.
Caution
Although possible, editing code and pushing changes from inside the container is strongly discouraged.
$ git pull
Troubleshooting
No troubleshooting information is applicable to this procedure.
This procedure was last modified Jul 15, 2026.
This procedure was written by Tiago Ribeiro. The following are contributors: none.